Installation
OKVIZ visuals (like any other custom visuals for Power BI) are wrapped as files with the .pbiviz extension. You cannot directly open .pbiviz files with Power BI. Instead, you must import them into your reports or install them in your organizational store by following one of the methods described below.
Custom visuals may be disabled in your organization, check your tenant settings to be sure you can use them.
From a File
To install a visual from a pbiviz file, follow these steps:
- Open a report with Power BI Desktop or from the Power BI service.
-
Select the ellipsis from the bottom of the Visualizations pane and choose Import a visual from a file from the dropdown menu.

-
From the Open File dialog box, select the .pbiviz file to import and then select Open. The icon for the custom visual is added to the bottom of your Visualizations pane.
- Click on the new icon and start using the visual.
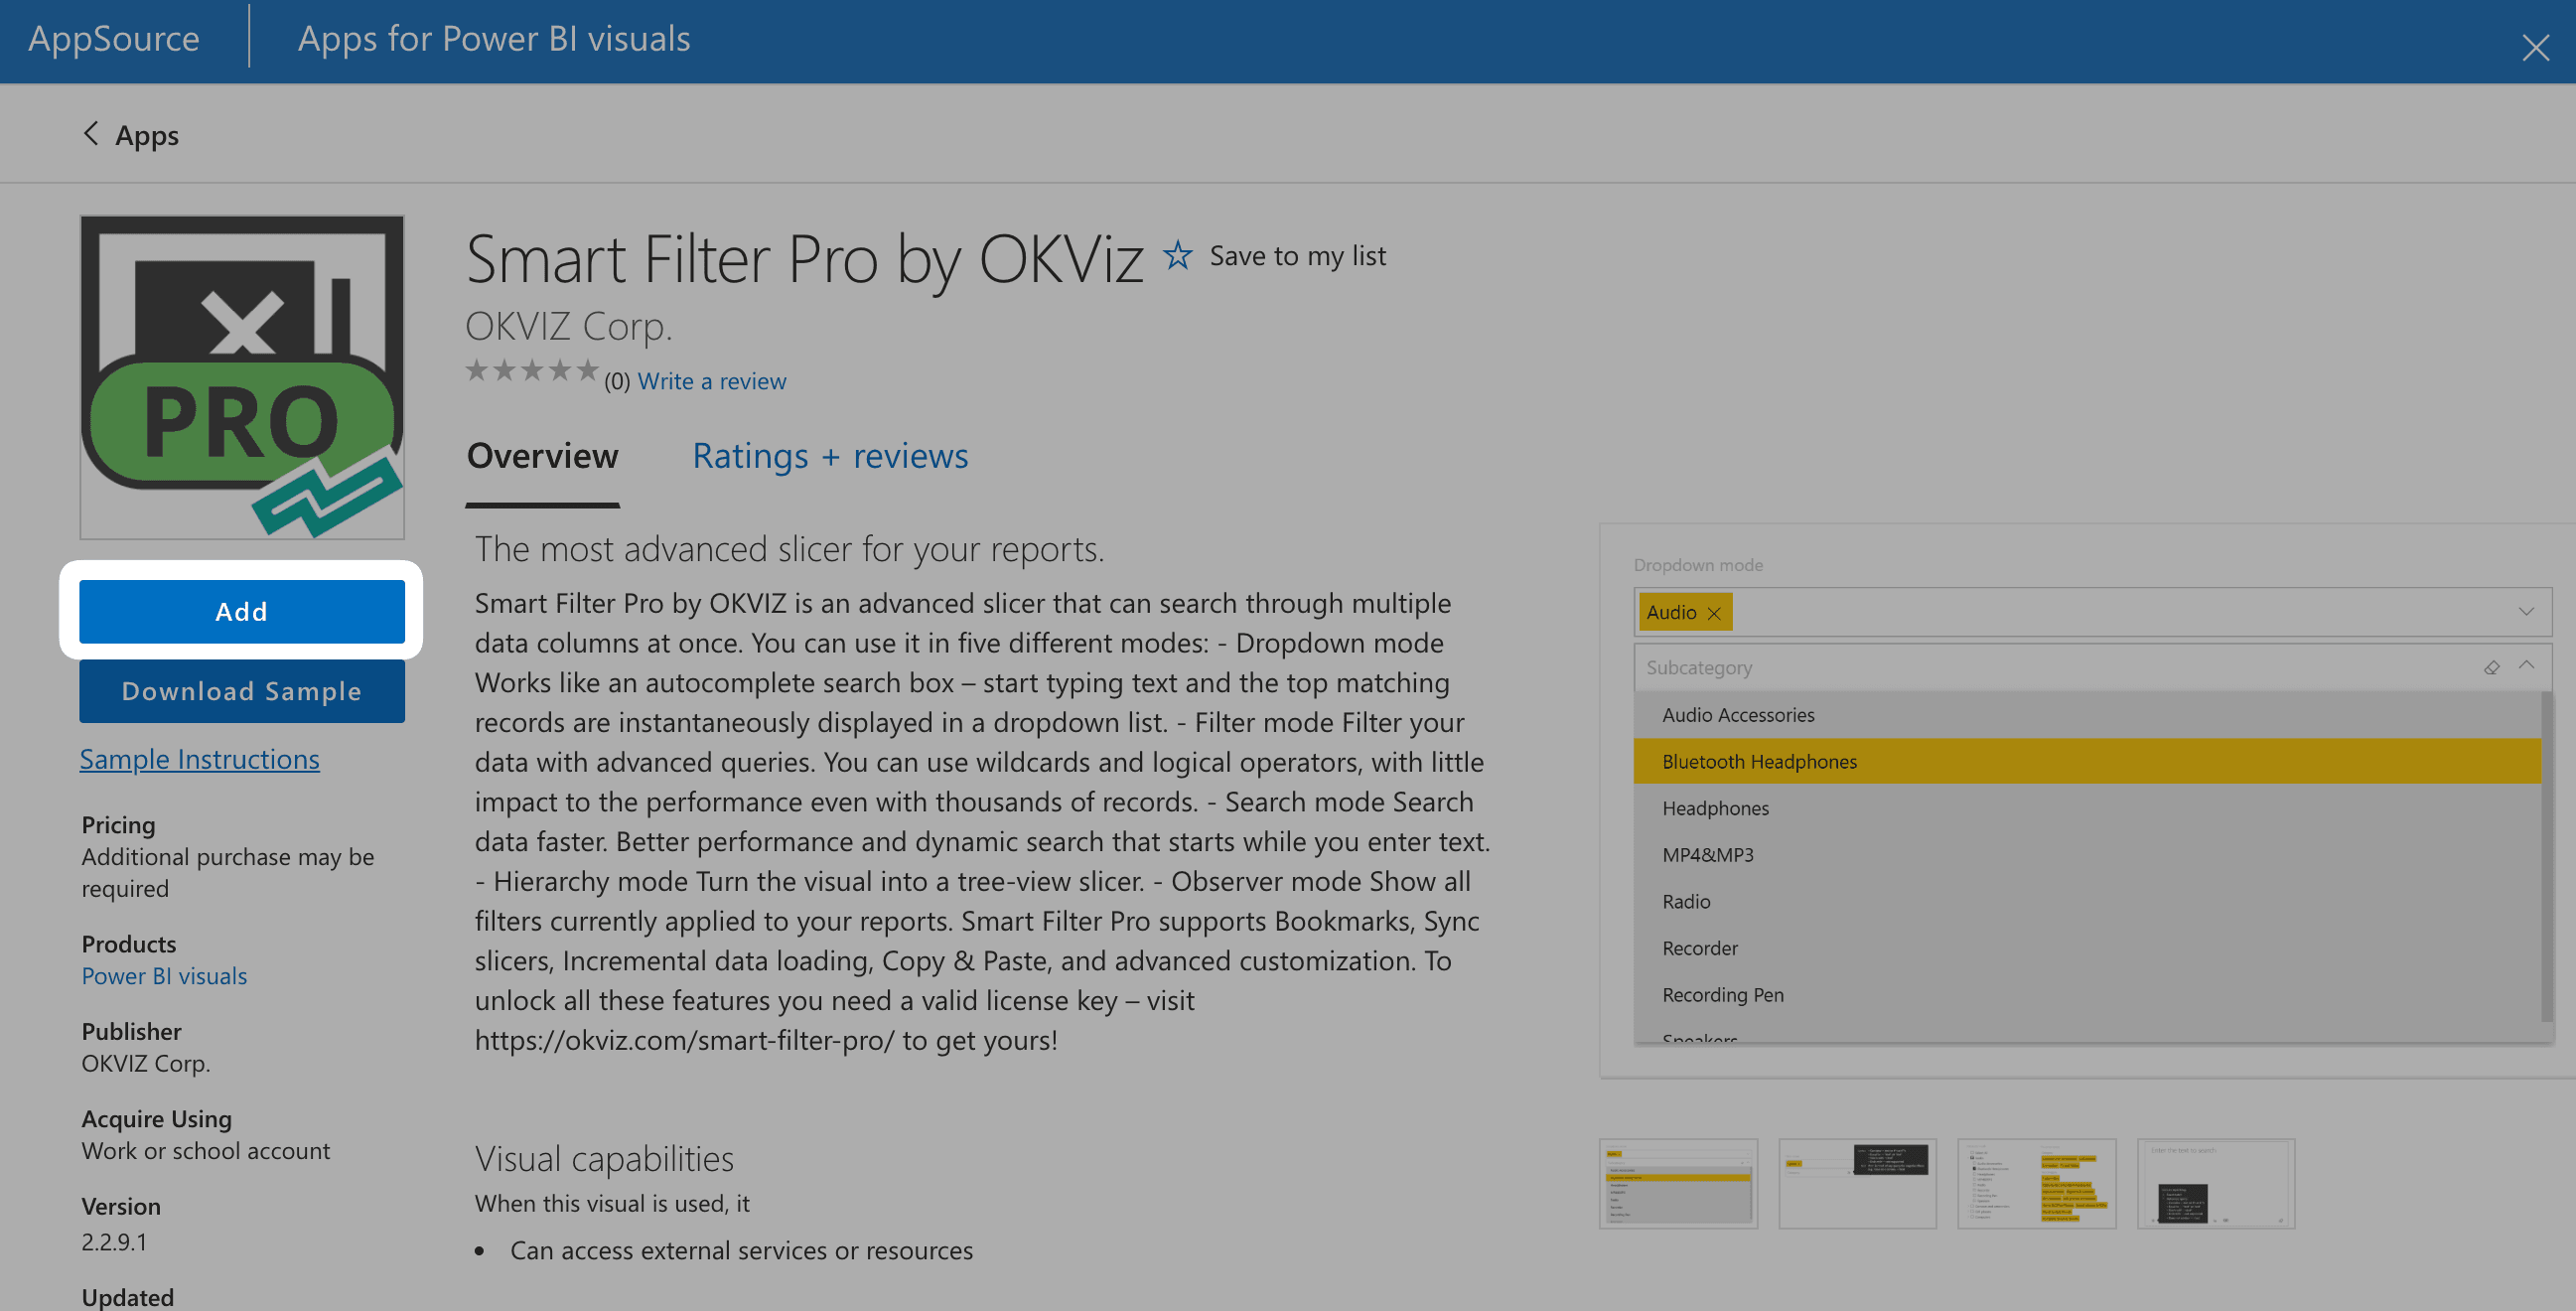
From AppSource
An easier way to load a custom visual into your reports is through AppSource. AppSource is the marketplace provided by Microsoft that includes all public visuals from different vendors and is embedded directly in Power BI. To use it, follow these steps:
- Open a report with Power BI Desktop or from the Power BI service.
-
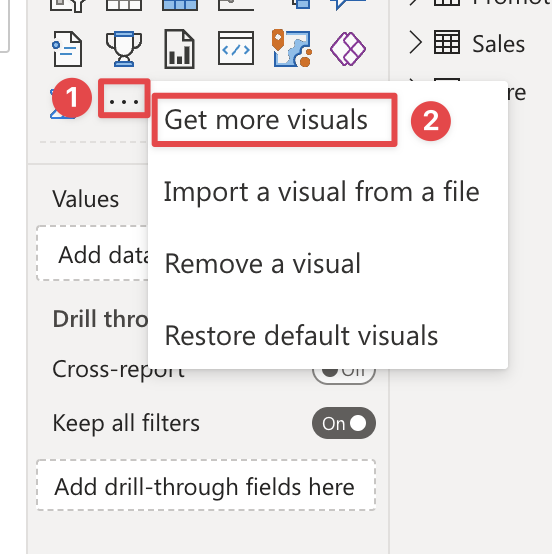
Select the ellipsis from the bottom of the Visualizations pane and choose Get more visuals from the dropdown menu.
-
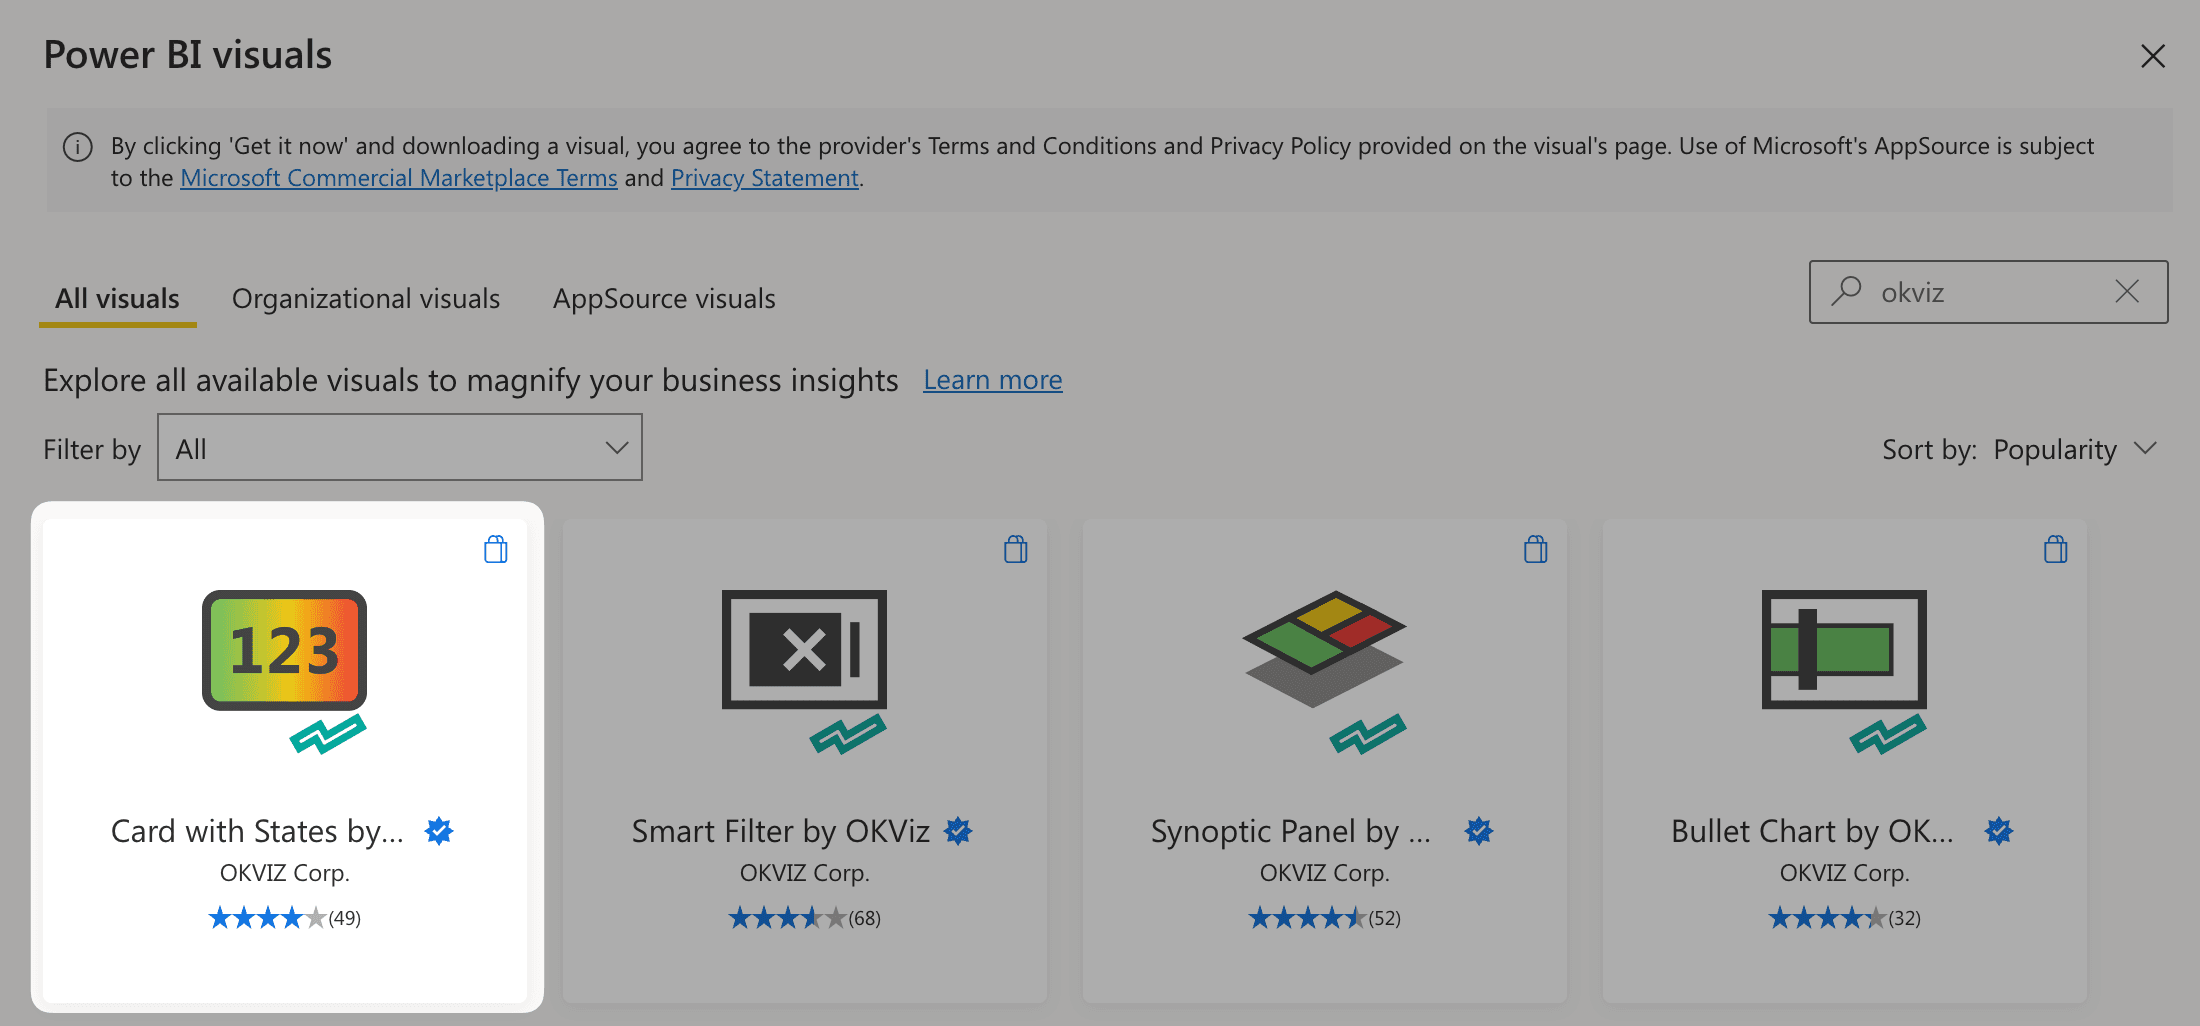
From the dialog box, search for the visual you want to install, click it and press Add in the next screen.
- Click the new icon in the Visualizations pane and start using the visual.
Smart Filter Pro: The benefit of using AppSource is that every new version of the visual is automatically downloaded and applied to each report. Unfortunately, this is also a drawback as you do not have control over the version of the visual in use and cannot downgrade to an older version in case of regressions. For this reason, we recommend that you install it as described in the next method.
From the Org Store
The Power BI Organizational Store is a private marketplace used to store and share visuals within an organization. In order to use OKVIZ visuals with the Org Store, there are two steps required:
-
Installing a visual in the Org Store
This must be done by an admin every time a new version of the visual is released. -
Importing a visual from the Org Store into your reports
Any user in the organization can do that.
These steps are described in detail in the following sections.
Smart Filter Pro: We encourage you to install Smart Filter Pro in the Org Store in order to benefit from automatic updates and timely support. More information here: Power BI Organizational Store
1. Installing a visual in the Org Store
Power BI admins can deploy custom visuals throughout their organization. In this way, any user creating a report can easily discover and use them. To install a new custom visual in the Org Store:
-
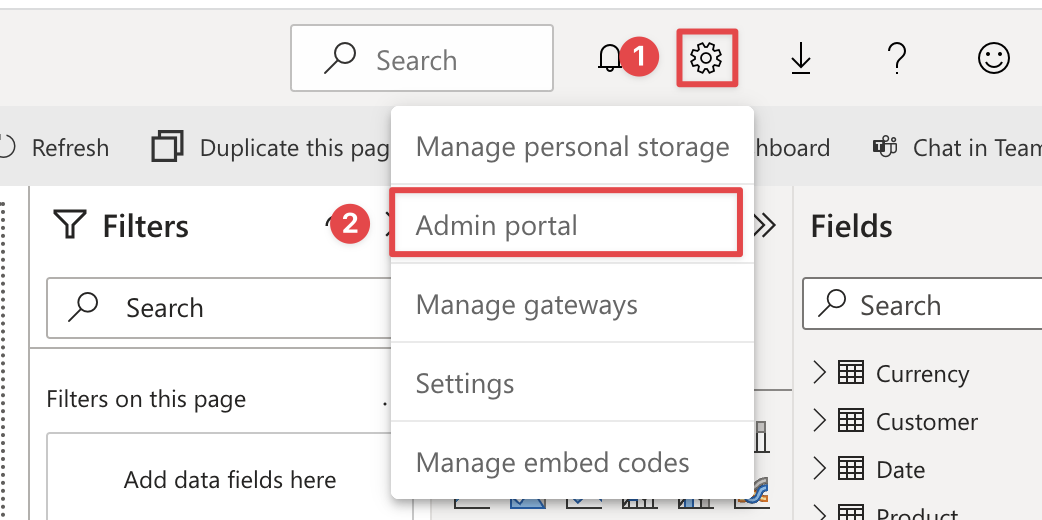
Log into Power BI service and navigate to the Admin portal.
-
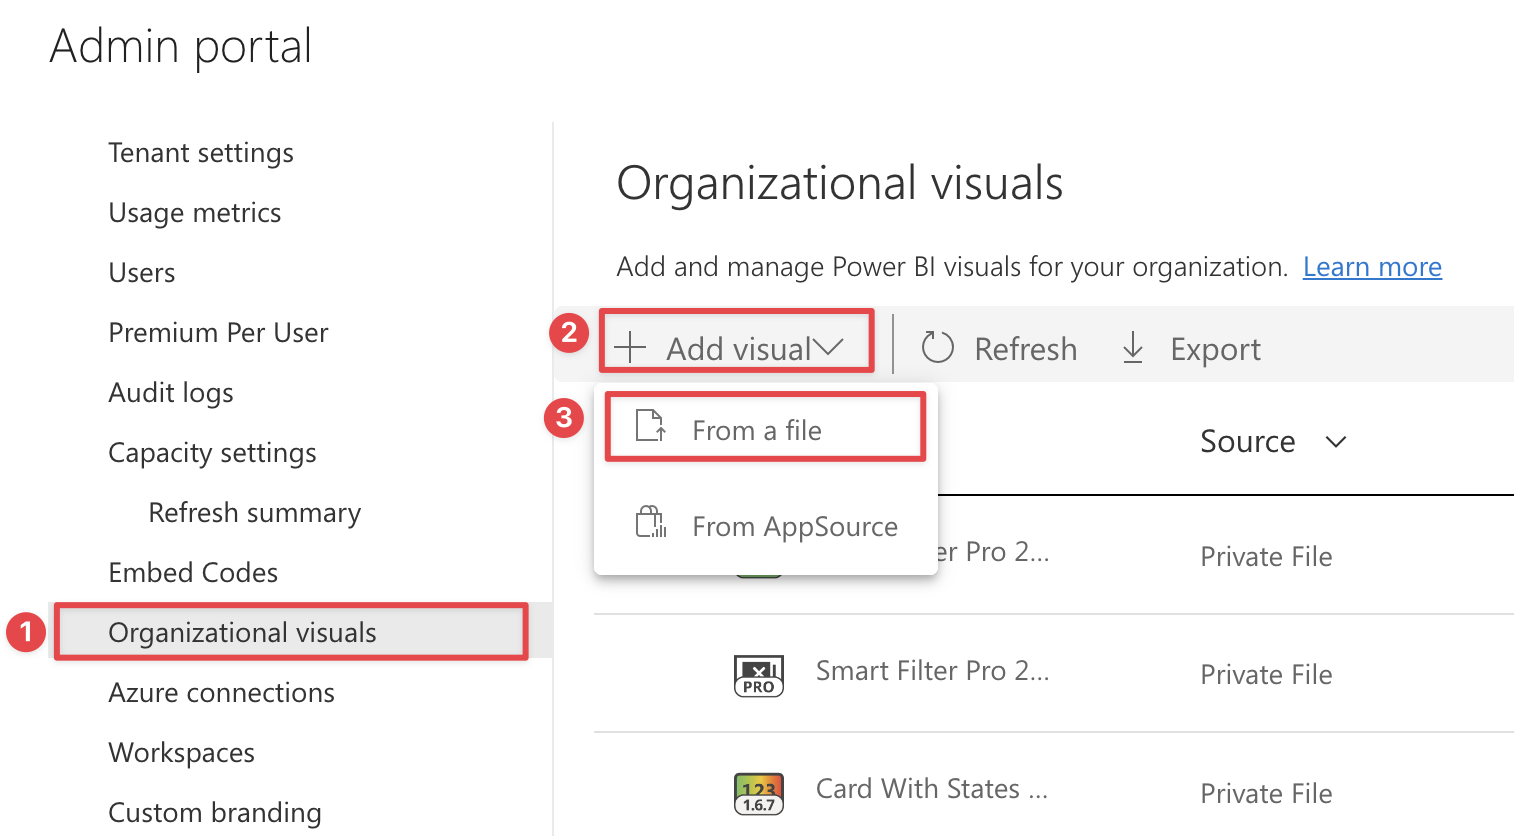
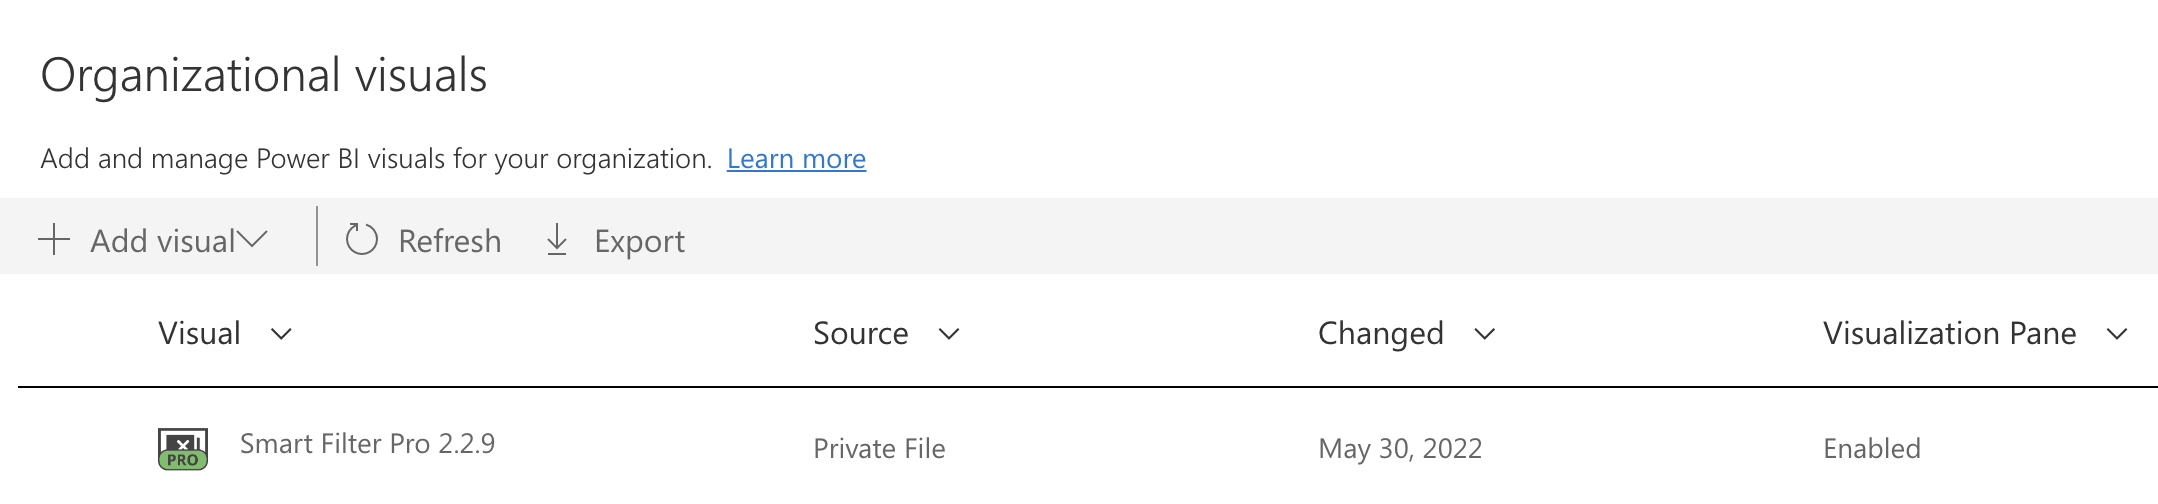
In the Organizational visuals tab, select Add visual, then From a file.
-
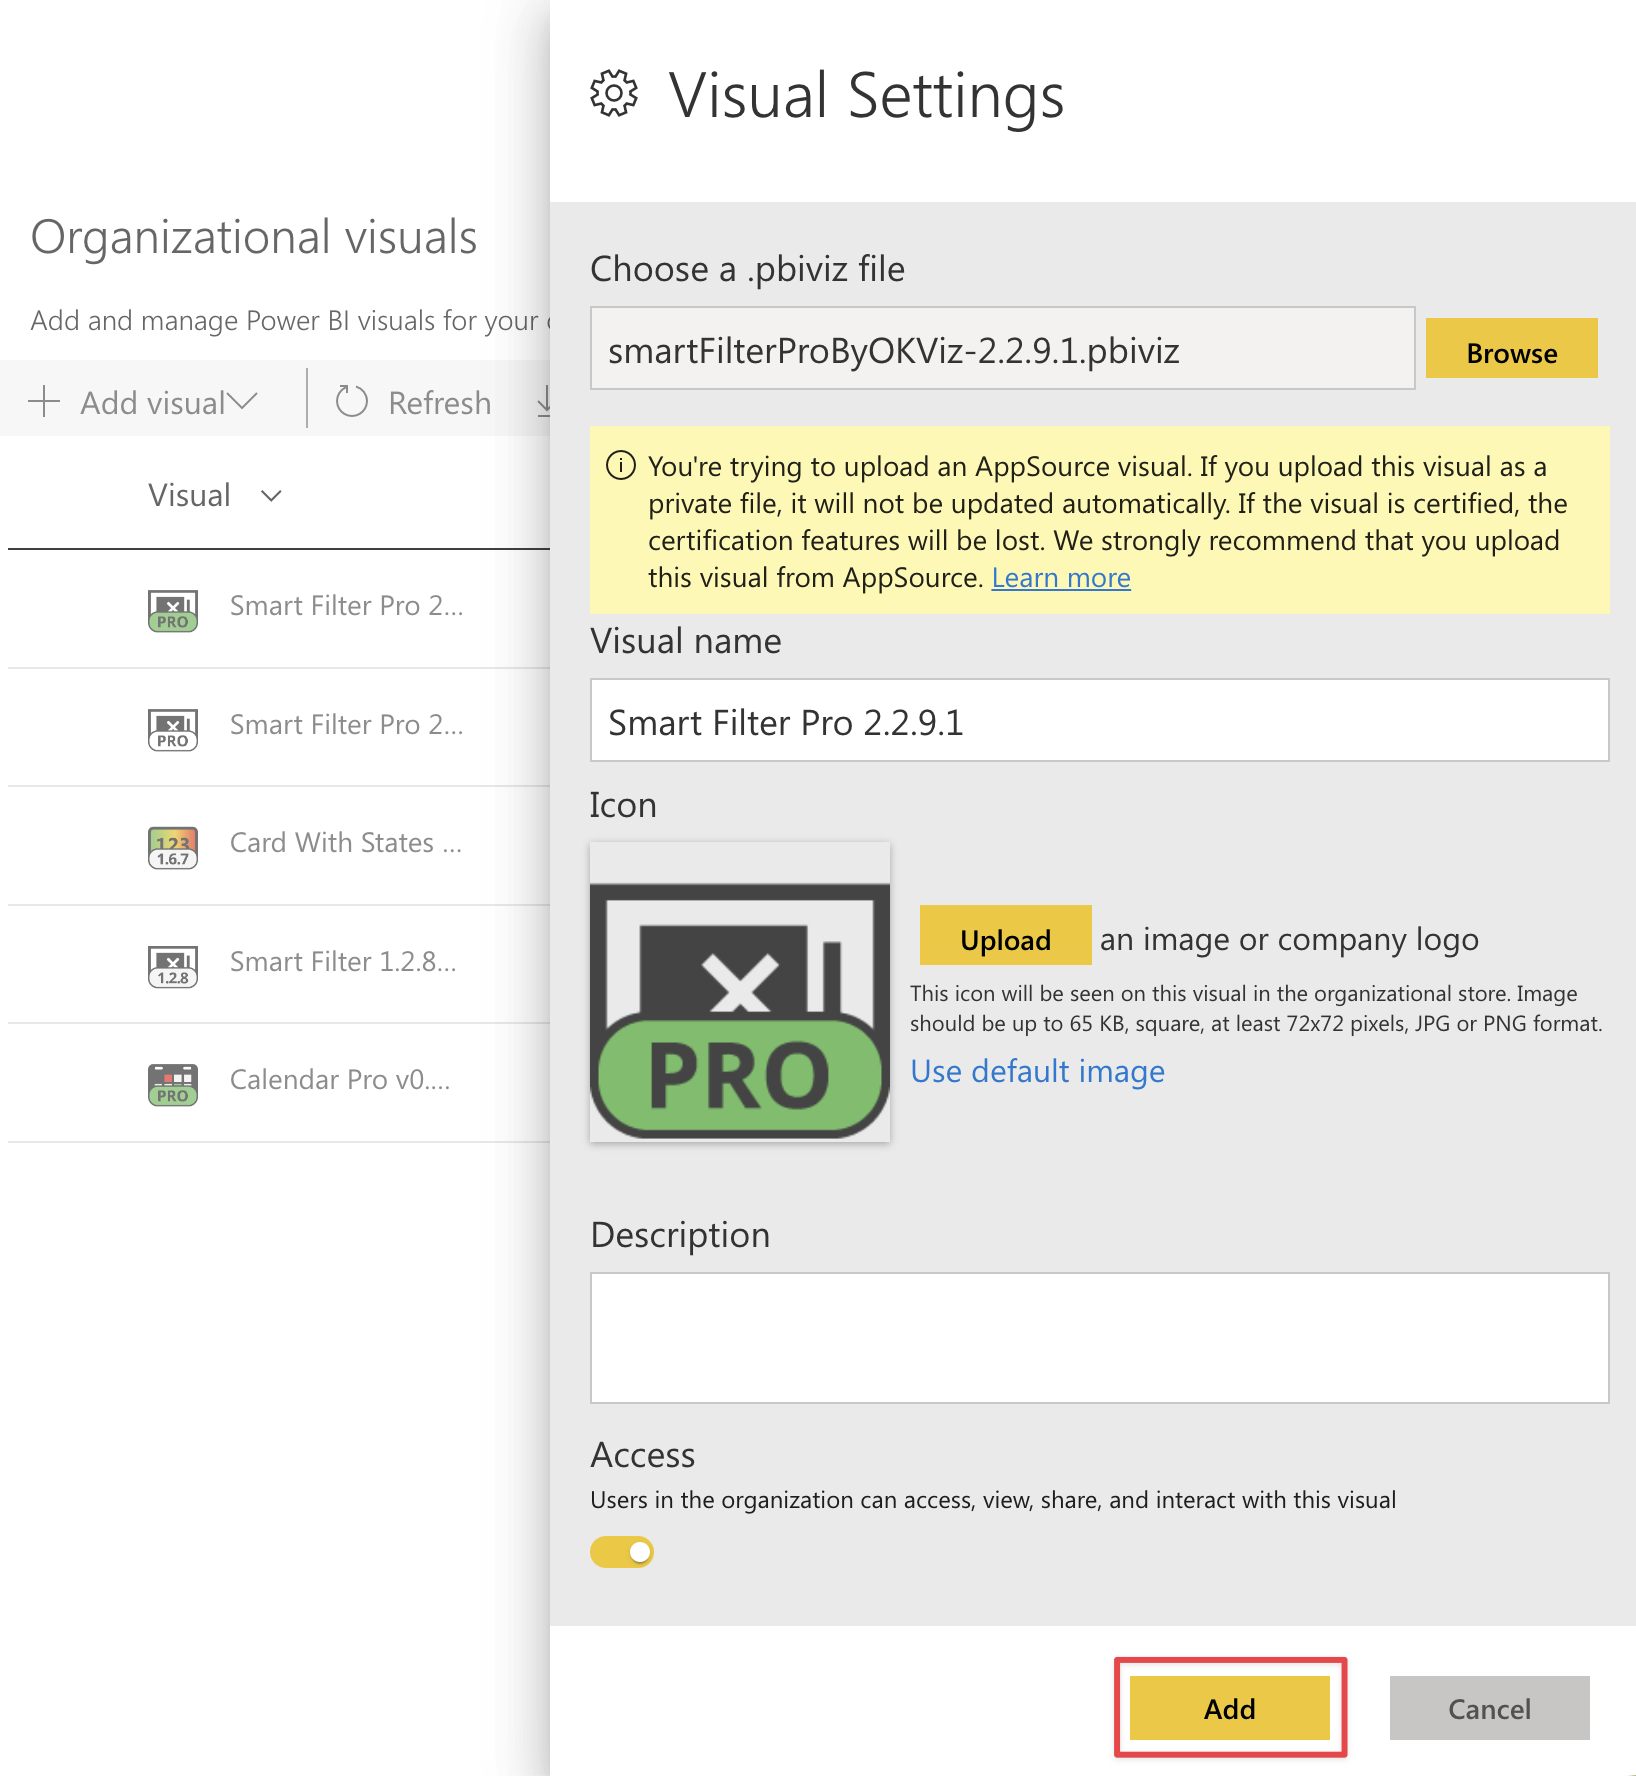
In the panel that appears on the right, click the Browse button, choose the custom visual to import and assign it a name – you can simply use the visual name. Press Add.
-
The visual is now installed correctly.
2. Importing a visual from the Org Store
To use a custom visual stored in the Org Store:
- Open a report with Power BI Desktop or from the Power BI service.
-
Select the ellipsis from the bottom of the Visualizations pane and choose Get more visuals.
-
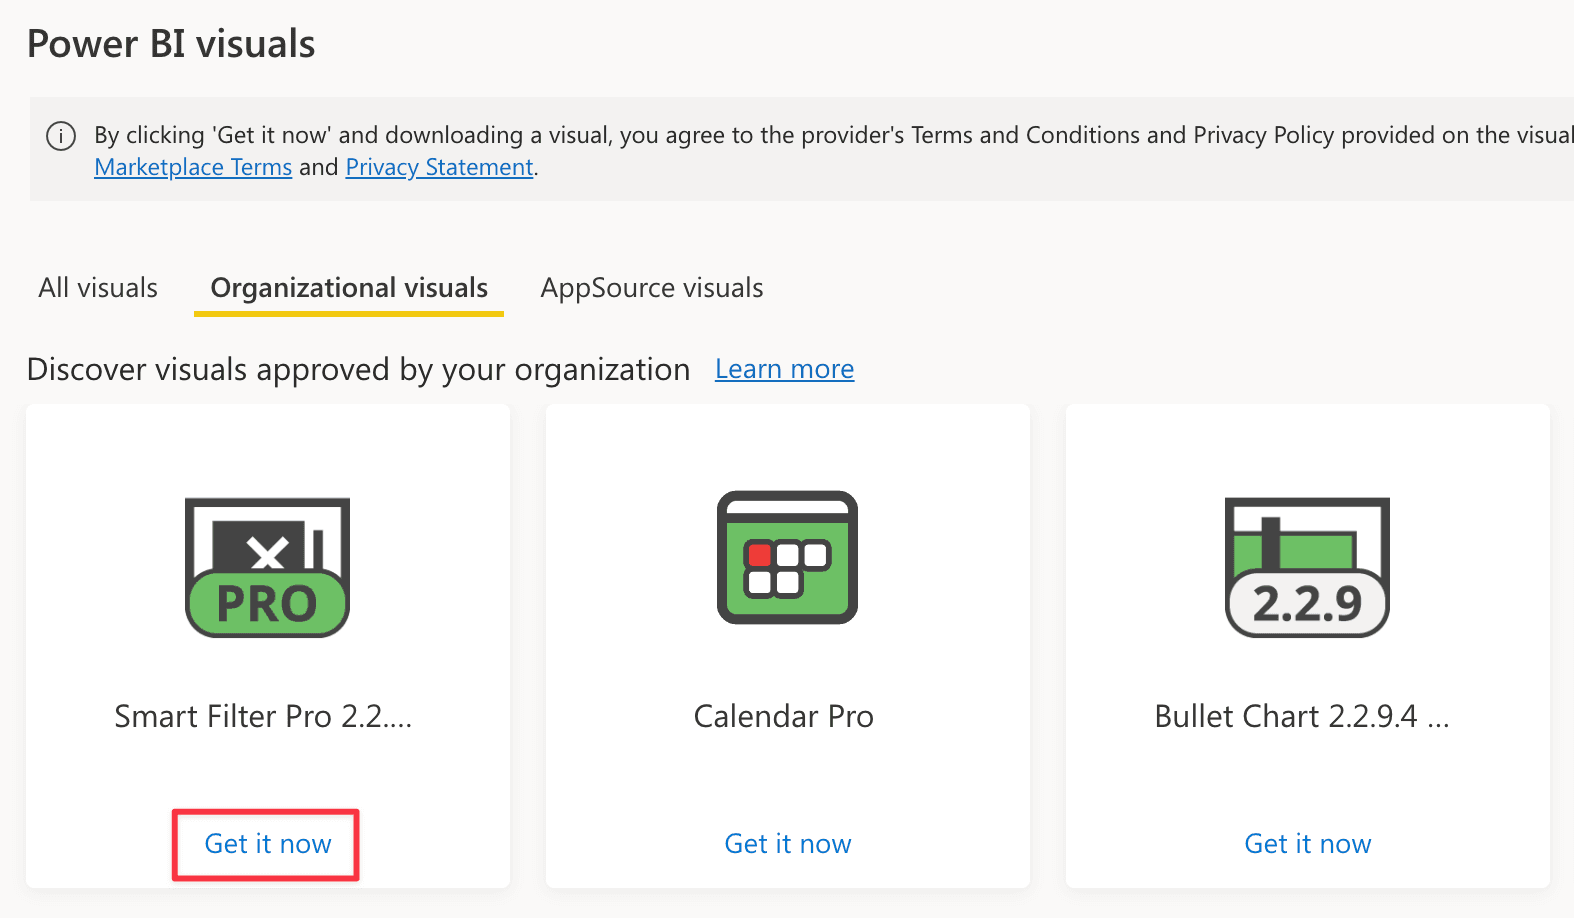
Select Organization visuals from the top tab menu. Choose the visual to import and press Get it now.
-
The icon for the custom visual is added to the bottom of your Visualizations pane and is now available for use in your report.
Visuals stored in the Org Store are only available within your organization. If you plan to share a report with a visual from your Org Store externally, you need to replace it with a local file, otherwise your recipients will see an error.
Enable Custom Visuals
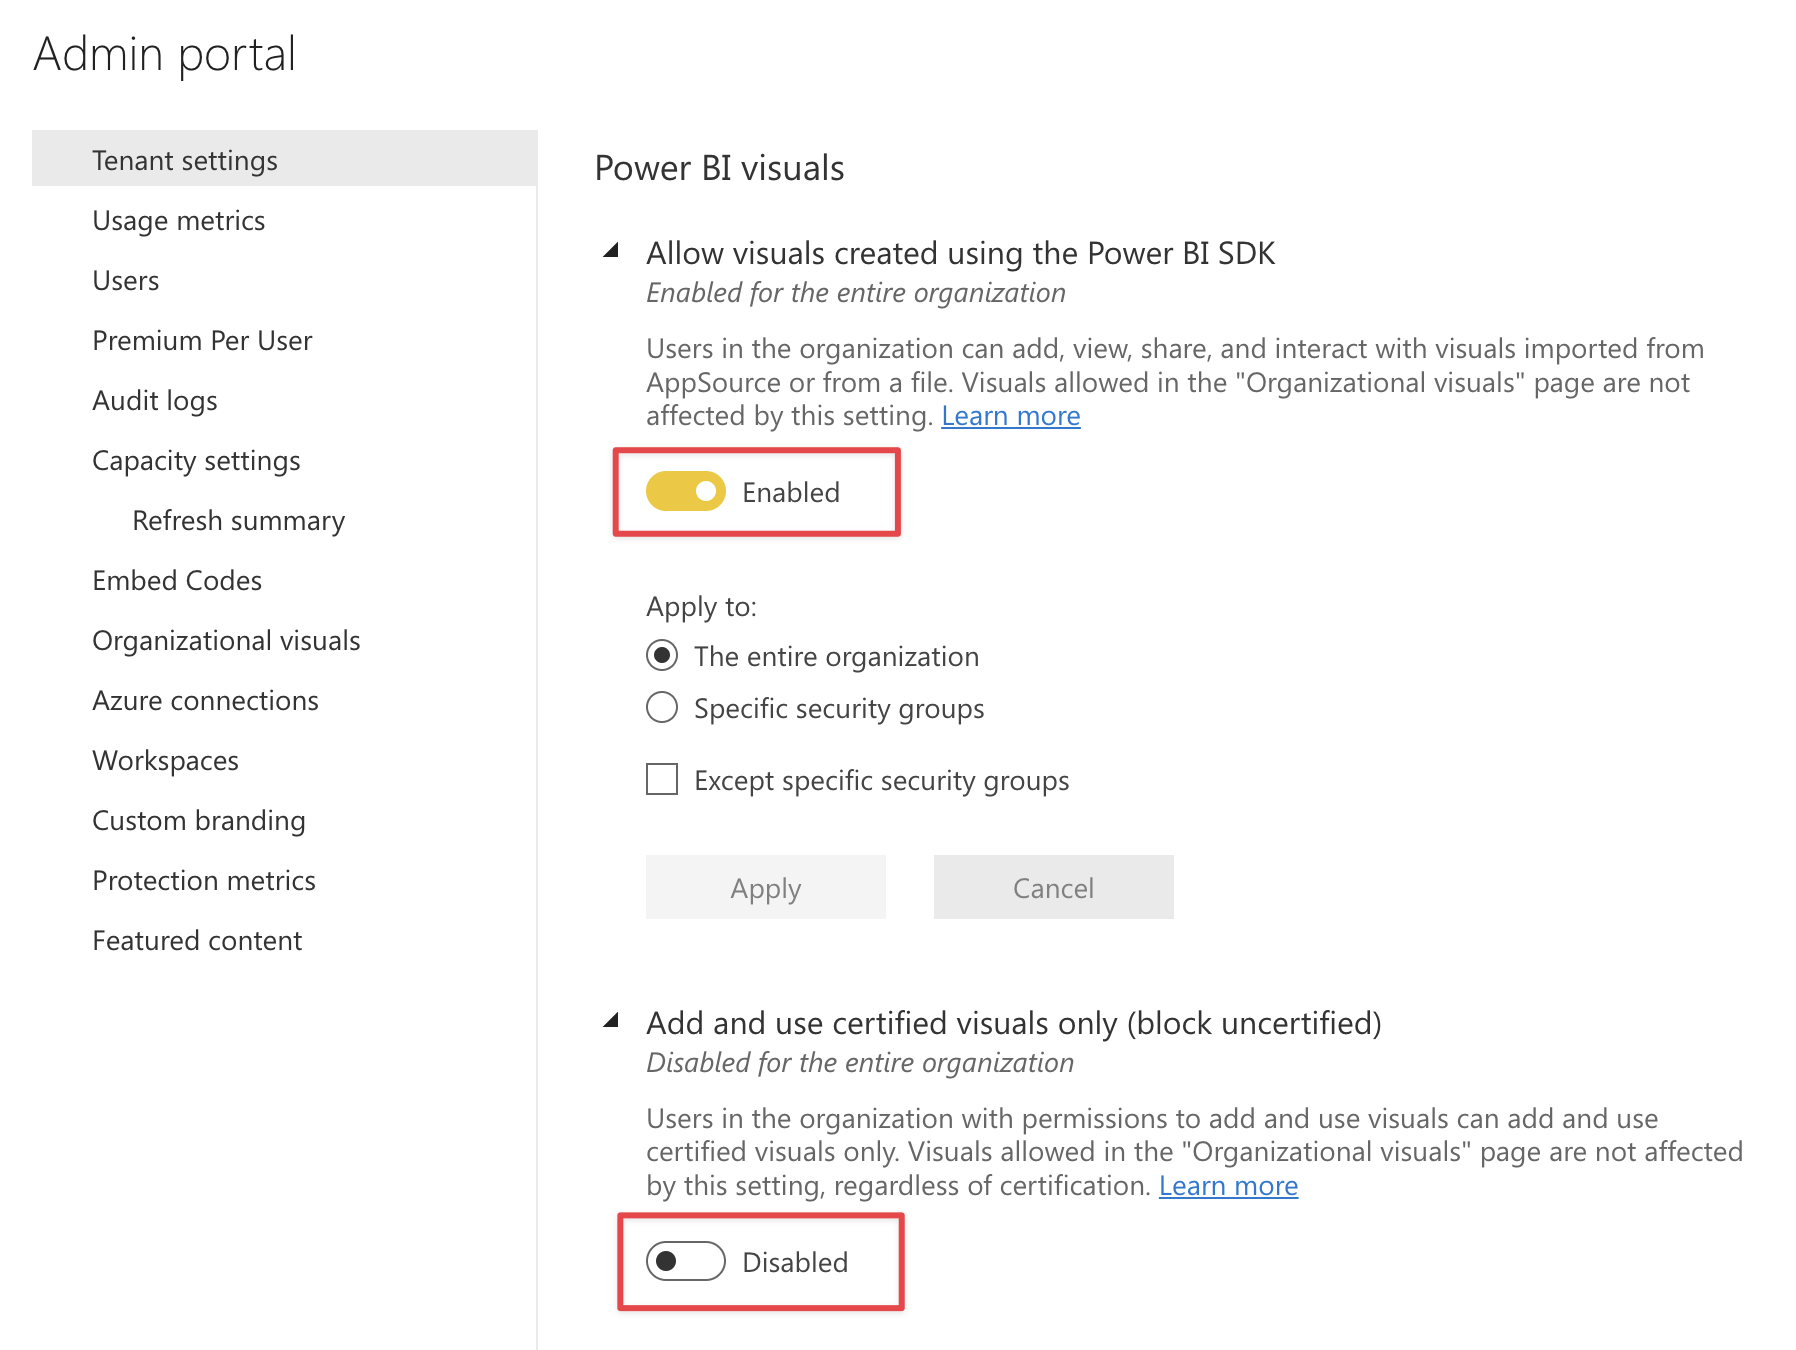
After installing the visual, you need to check if custom visuals can be run in your organization. To do so, go to Tenant settings of the admin portal and make sure that:
-
Allow visuals created using the Power BI SDK is enabled;
-
Add and use certified visuals only (block uncertified) is disabled.
The latter option is required by Smart Filter Pro and Synoptic Panel as they are uncertified. Find out why we did not apply for certification here: Smart Filter Pro Certification, Synoptic Panel Certification